
The Easiest Way to Defrost a Refrigerator (Without Trashing Your Kitchen or Your Appliance)
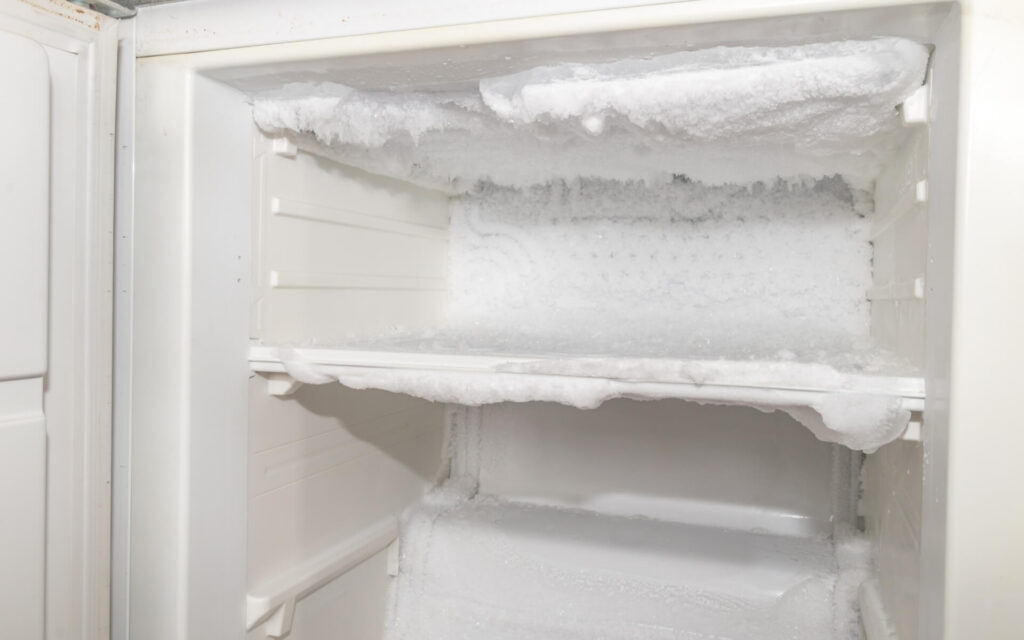
Every homeowner eventually faces the creeping wall of white frost taking over the back of their freezer. It starts as a light dusting, and before you know it, your frozen vegetables are encased in an iceberg and your ice cream is impossible to reach.
When this happens, most people search for the fastest way out. Unfortunately, taking shortcuts with cooling appliances often leads directly to expensive disasters. Having seen firsthand what goes wrong when people rush this process, I can tell you that the easiest way to defrost your fridge is also the most methodical. It does not require special equipment, and more importantly, it will not destroy your appliance.
Here is the exact step-by-step method to get your unit clear, clean, and cold again, along with what you need to know to prevent the ice from returning.
The Steaming Water Technique: Fast, Controlled, and Mess-Free
If you want to thaw your unit in a fraction of the time without leaving standing water across your kitchen floor, follow this reliable routine:
- Cut the power and unload: Turn off the power switch or unplug the refrigerator entirely. Transfer all perishable food into insulated coolers packed with ice.
- Catch the melt before it pools: Towels alone will soak through in minutes. Instead, place deep-walled baking pans on the bottom shelves and line the floor of the compartment with thick towels. The pans capture bulk runoff cleanly, while the towels catch stray drips.
- Harness trapped steam: Place bowls or pots of steaming hot water directly onto the shelves inside the freezer and the fresh food compartment. Close the doors and set a timer for 10 to 15 minutes. The trapped steam circulates evenly, softening the frost layer from the inside out.
- Clear loose chunks gently: Open the doors and inspect the frost. Once the ice begins to loosen, gently guide the falling chunks into a bucket using a warm, damp cloth or a flexible plastic scraper. Never pry or force an ice chunk that is still firmly attached.
- Sanitize and dry: After the frost drops, wipe down every surface with a clean microfiber cloth and a mild baking soda solution. This eliminates lingering moisture and neutralizes odors before you restore power.
The Butter Knife Disaster: A Cautionary Tale
People often ask why they cannot simply take a flat metal tool and pop the ice sheets loose. The answer comes down to what is hidden directly beneath that frost.
A homeowner I know once decided to speed up the removal of thick ice buildup in his freezer using a sharp butter knife. His goal was straightforward: wedge the blade behind a stubborn slab near the back wall and pry it off. Within seconds, a sickening hiss filled the kitchen.
The blade had slipped, puncturing the paper-thin aluminum tubing of the evaporator coil and instantly venting the entire pressurized refrigerant charge into the room.
What was meant to save an hour of thawing turned into an unrecoverable system failure. The puncture left an oily residue across the compartment, and the unit lost all ability to cool. Because rebuilding a compromised sealed system requires specialized recovery gear and costly labor, the repair estimate far exceeded the replacement value of the appliance. A simple maintenance chore ended up costing him the price of a brand-new refrigerator.
Take this as a rule: never let a sharp metal object near your freezer walls.
Why Viral Defrosting Hacks Cause More Harm Than Good
A quick search online will reveal dozens of creative shortcuts. As an experienced repair technician, I strongly advise against almost all of them.
The Hairdryer and Heat Gun Hazard
Blasting your freezer with a hairdryer or a heat gun might seem like an easy way to melt ice, but cooling appliances are not built for concentrated, dry heat. High temperatures quickly warp thin plastic inner liners, ruin door seals, and melt internal wiring insulation. Even worse, modern units have built-in thermal safety fuses. Directing intense heat at the interior walls can easily trip or blow these fuses, rendering the appliance completely inoperable until parts are replaced.
The Overnight Thaw Mistake
Unplugging the fridge and leaving the doors wide open overnight sounds harmless, but it invites room-temperature humidity into the cabinet all night long. The sheer volume of melting ice regularly overflows internal drain pans and seeps across the kitchen floor. This water often travels unseen under cabinets and subfloors, leading to warped floorboards, ruined baseboards, and hidden mold growth.
Gentle steam inside a closed cabinet remains the only method that balances speed with complete safety.
The Post-Defrost Playbook: Setting Up for Clean Cooling
Once the ice is out, how you bring the unit back online determines whether your food stays safe and whether frost immediately reforms.
- Eliminate every trace of moisture: Use a dry microfiber towel to wipe every inch of the interior walls, floor, and ceiling. Any lingering water droplets will flash-freeze the moment the cooling cycle starts, creating the base layer for a brand-new sheet of frost.
- Clean the gasket: Wash the rubber door gasket with warm water and mild dish soap, then dry it completely. A clean, supple gasket creates an airtight seal that locks room humidity outside where it belongs.
- Reach safe temperatures first: Plug the refrigerator back in and set the thermostat to the manufacturer standard of 37 degrees Fahrenheit for the fresh food compartment and 0 degrees Fahrenheit for the freezer. Do not rush to reload your groceries. Wait until the internal temperature drops safely below 40 degrees Fahrenheit before returning your perishables.
- Load for proper airflow: When restocking, keep items a few inches away from interior vents and the back walls. Overpacking blocks cold air circulation, creating localized cold spots that encourage frost while leaving other areas dangerously warm.
Is It Normal Frost or Do You Need Refrigerator Repair?
Modern frost-free refrigerators are engineered to manage their own ice. Under normal circumstances, you should never have to manually defrost them. If you find thick sheets accumulating, your appliance is trying to tell you something is wrong.
Check the Door Gasket
The most common non-mechanical cause is a damaged door seal. Inspect the rubber gasket around the door perimeter for tears, warped corners, or trapped crumbs. You can test the seal by closing the door on a dollar bill. If you can pull the bill out without any resistance, ambient kitchen humidity is constantly being sucked into the cabinet, condensing, and freezing onto your coils.
Recognizing Internal Component Failures
If your door gasket is intact and airtight, the problem points to a breakdown inside the automatic defrost system. This system relies on three synchronized components:
- A defrost heater that warms the coils periodically
- A defrost thermostat that monitors coil temperatures
- A control board or timer that regulates the cycle
When any one of these parts burns out, the appliance loses its ability to melt normal frost accumulation, and the coils slowly choke in solid ice.
A simple rule of thumb: if you follow the thawing steps above and heavy frost reappears within a few days to a week, stop manually defrosting. You are dealing with an electrical or mechanical fault that requires proper diagnostic testing and refrigerator repair from a qualified repair technician to get your system running efficiently again.