
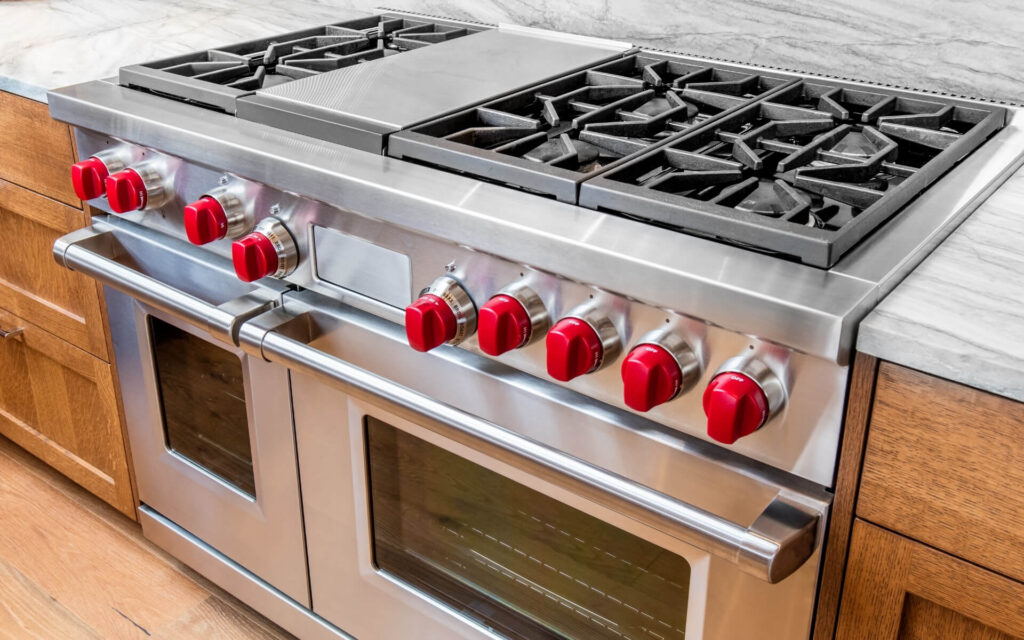
How Do I Clean My Range?
Most homeowners think about cleaning their range when something goes wrong: a burner that won’t light, a sticky stovetop that won’t wipe clean, or an oven that smells every time it heats up. But by the time those problems show up, the damage is usually already done. As an appliance repair business that has worked on ranges across Austin for years, we have seen what poor cleaning habits do to these appliances up close. This guide covers everything you need to know to clean your range the right way, protect it for the long term, and avoid the kind of buildup that leads to a service call.
The Most Common Range Cleaning Mistake We See
When grease and food build up on a range, the instinct is to reach for the strongest cleaner available and scrub until everything is gone. We completely understand that impulse, but it is one of the most common things we see cause real damage in the appliance repair world.
Using harsh, abrasive scrubbers or heavy chemical oven cleaners on the wrong parts of your range, especially the burner grates, igniters, and the area around the gas ports, is a recipe for problems. When those cleaners are sprayed on or near the igniter housing, they force moisture and chemical residue into areas where electronics live. The result is a burner that will not light, or one that keeps clicking on its own long after the cleaning is done. Those are some of the most common service calls we receive in the weeks following a deep cleaning session.
The same applies to glass cooktops. Many homeowners reach for a regular scrubbing pad and end up with permanent scratches that dull the surface and make every future cleaning harder. A soft cloth, warm soapy water, and a little patience will almost always get the job done without sending anything to the shop.
A Service Call That Started With a Cleaning Session
A while back, a customer here in Austin called us because two of her four gas burners had stopped igniting completely. She was convinced something had burned out inside the appliance. When we got there and lifted the burner caps off, it was clear what had happened.
She had done a thorough deep clean the weekend before. She sprayed a foam oven cleaner across the stovetop, let it sit, then wiped it down. That sounds like a reasonable cleaning method, and in many ways it is, but the foam had seeped into the igniter ports and dried there, leaving a chalky residue that was blocking the spark entirely.
We cleaned out the igniters, let everything dry completely, and she was back up and running the same afternoon. Before we left, we gave her the same advice we give everyone: skip the heavy spray cleaners on the stovetop surface and use a damp cloth with a little dish soap instead. And if anything ever gets near the igniters, a dry toothbrush is your best tool. It is gentle enough to clean the area without pushing moisture into places it should not go.
How to Clean Your Range the Right Way
Cleaning a range properly does not have to be complicated, but the order and method matter. Here is the process we walk homeowners through.
Step 1: Start with Safety
Make sure the range is completely cool and everything is turned off before you touch anything. A warm or hot surface can cause cleaners to evaporate too quickly or burn onto the finish before you have a chance to wipe them away.
Step 2: Remove and Soak the Grates and Burner Caps
Pull off the burner grates and caps and let them soak in warm soapy water in the sink. This gives the soap time to loosen grease while you work on the rest of the stovetop, and you will not have to scrub nearly as hard when you come back to them.
Step 3: Clean the Stovetop Surface
Wipe down the stovetop with a damp cloth and a small amount of dish soap. When you get near the igniters, switch to a dry toothbrush and work gently around the ports. Never spray directly onto or around igniters, and never let water pool in that area.
Step 4: Wipe Down the Control Panel
On the control panel area, use only a lightly damp cloth. This is where electronics live, and excess moisture is one of the more common causes of control panel issues we see in appliance repair work. Less is more here.
Step 5: Clean the Oven Interior
Pull the oven racks out and soak them the same way you did the grates. For the oven interior, a paste made from baking soda and water works well and is gentle enough to use regularly. Apply it, let it sit for 15 to 20 minutes, then wipe it away with a damp cloth.
If your range has a self-clean cycle, you can use that instead, but we have strong opinions on when and how to use it, which we cover below.
The Spots People Always Forget
These are the areas that almost never get cleaned during a typical session but build up grease and debris faster than most people realize:
- The area underneath the burner bowls, where grease drips and sits unnoticed
- Drip pans, if your range has them
- The gap between the range and the counter, where crumbs and spills collect over months
- The back panel behind the burners, which accumulates a surprising amount of grease splatter over time
Getting into the habit of including these spots in your cleaning routine can make a noticeable difference in how long your appliance stays in good working condition.
Our Honest Take on the Self-Clean Cycle
The self-clean cycle is one of those features that sounds great on paper. You press a button, the oven heats up to around 900 degrees, and it burns off everything inside. No scrubbing required. And for a moderately dirty oven, it does a solid job.
But there are trade-offs that manufacturers do not always make obvious, and as a team that handles appliance repair calls regularly, we feel obligated to be upfront about them.
Running the oven at 900 degrees puts serious stress on components that were not designed to handle that temperature repeatedly. The thermal fuse, the door latch motor, and the control board are the parts we see fail most often after a self-clean cycle. We have received plenty of calls from homeowners who ran the self-clean cycle and then found that their oven would not heat up afterward, or that the door had locked and would not release. In a lot of those cases, the repair bill was more than they had anticipated.
Our honest advice:
- Use the self-clean cycle sparingly, no more than once or twice a year
- Before you start it, wipe out any large food debris or heavy grease buildup so the cycle does not have to work as hard
- Keep the kitchen well ventilated during and after the cycle
- Never run it the night before a holiday meal when you cannot afford for something to go wrong
It is a useful feature when used thoughtfully, but it is not something we would recommend as a regular cleaning method.
The One Habit That Will Save You from Appliance Repair Calls
If we could get every range owner to build just one habit, it would be this: wipe down the stovetop after every cooking session while the surface is still slightly warm.
Not hot. Just warm enough that spills and grease have not fully hardened yet.
It sounds almost too simple, but the problems we see most often in the appliance repair shop are not the result of one major disaster. They are the result of weeks or months of small spills that got ignored, baked on layer by layer, and eventually worked their way into burner ports, drip pans, and the areas under the grates where they cause real functional problems.
A two-minute wipe with a damp cloth after dinner does more for the long-term health of your range than any deep cleaning session you could do on a weekend. You are never letting that residue get a foothold in the first place.
Every time we share this tip with a customer after a repair visit, the response is almost always the same: “I wish someone had told me that sooner.”